Preload Doesn't Make the Spring Stiffer

There's a line you hear in workshops, in forums, at rallies. "Add more preload, it'll make the spring stiffer."
It's wrong. And it isn't a pedantic technicality — it's wrong in a way that leads you to do the opposite of what's actually needed.
What preload actually does
A spring has whatever stiffness it has. It's called K, it's a manufacturing spec, and it never changes. If it's a 9.5 N/mm spring, it stays a 9.5 N/mm spring whether the collar is wound all the way in or backed all the way out: compressing it by one millimetre always takes the same force.
What preload decides is from which point in its travel the spring starts working. And, as a result, how high the bike sits at rest.

The "it feels stiffer" sensation you get after winding in the collar is real — you're not imagining it. But the cause is something else: you've raised the bike, so under compression you now arrive later, in the zone where the spring is already heavily compressed and pushing hard. You haven't changed the spring. You've changed its working point.
Why does this matter? Because if the bike is too soft for your weight, adding preload won't fix it. It just pushes the problem further down the stroke while raising the bike in the meantime. What you need is a different spring, and that's a whole separate conversation.
What to do, based on what you feel
Dynamic SAG is too high, the bike sits low. It starts out already compressed and has little stroke left to absorb anything. The first serious bump bottoms it out. Wind the collar in.
Dynamic SAG is too low, the bike sits high. It never uses the initial part of the stroke and stays harsh over small bumps — the kind that wear out your wrists. Back it off.
SAG is correct but it still dives under braking. Preload has nothing to do with this. That's damping, and it's the next section.
The order is not negotiable
Preload first. Damping second. Always.
The reason is that hydraulic damping controls the speed at which the suspension moves, not the position it starts from. If the bike feels unsettled because SAG is wrong, closing off compression damping can make it feel more composed, but you're correcting one mistake with another, and the result is a bike that dives less and absorbs worse, while still lacking travel exactly where it needs it.
And there's a bill to pay later. Once you finally fix preload, you're left with damping tuned to mask a problem that no longer exists. Back to square one.
How to turn the collar without regretting it
At the rear, it depends on the bike: a notched collar turned with the C-spanner from the tool kit, a threaded collar, or a hand knob on touring bikes. On electronic suspension, it's a menu setting.
At the front, where adjustable, the adjuster sits at the top of the fork leg, usually a hex fitting or a graduated notch.
The method I'd recommend, in order:
Write down where you're starting from, before touching anything. How many notches, how many turns, counted from fully wound in. It's the only way back, and going back is part of the process — not a failure, just method.
Move in small steps. One notch, half a turn. No more.
Re-measure after every change. Don't estimate by eye: how many millimetres of SAG one turn of the collar buys you changes from bike to bike, and isn't even linear.
Check both ends once you're done. Raise the rear and you change the load at the front too, even without touching it.
If a collar is seized, stop right there. Forcing it means scoring the seat or stripping the thread.
Only now: the hydraulics
With SAG sorted, it finally makes sense to work on the damping adjusters.
Always work by counting from fully closed: wind in gently to the end without forcing, then back off counting clicks. That gives you an absolute reference instead of a "where it was before" you don't actually remember.
Here are the most common symptoms and what they're telling you.
- Bounces after a bump, feels like it's skipping. Rebound too fast: it returns too quickly. Close it two clicks.
- Stays low after a series of bumps, packs down. Rebound too slow: it doesn't have time to fully extend before the next bump, and each one pushes it further down. Open it two clicks.
- Front dives too much under braking. Check SAG first. If that's correct, close off compression.
- Harsh and stiff over small bumps. Compression too closed. Open it two clicks.
- Rear kicks under acceleration on rough surfaces. Rear rebound too closed. Open it.
- Vague and wallowy through fast sweepers. This isn't damping. Go back to SAG.
The method fits in one line: one change at a time, two clicks at a time, always the same stretch of road. Change three things together and you'll never know which one worked — and by the third attempt you'll be further from your starting point than when you began.
The test route
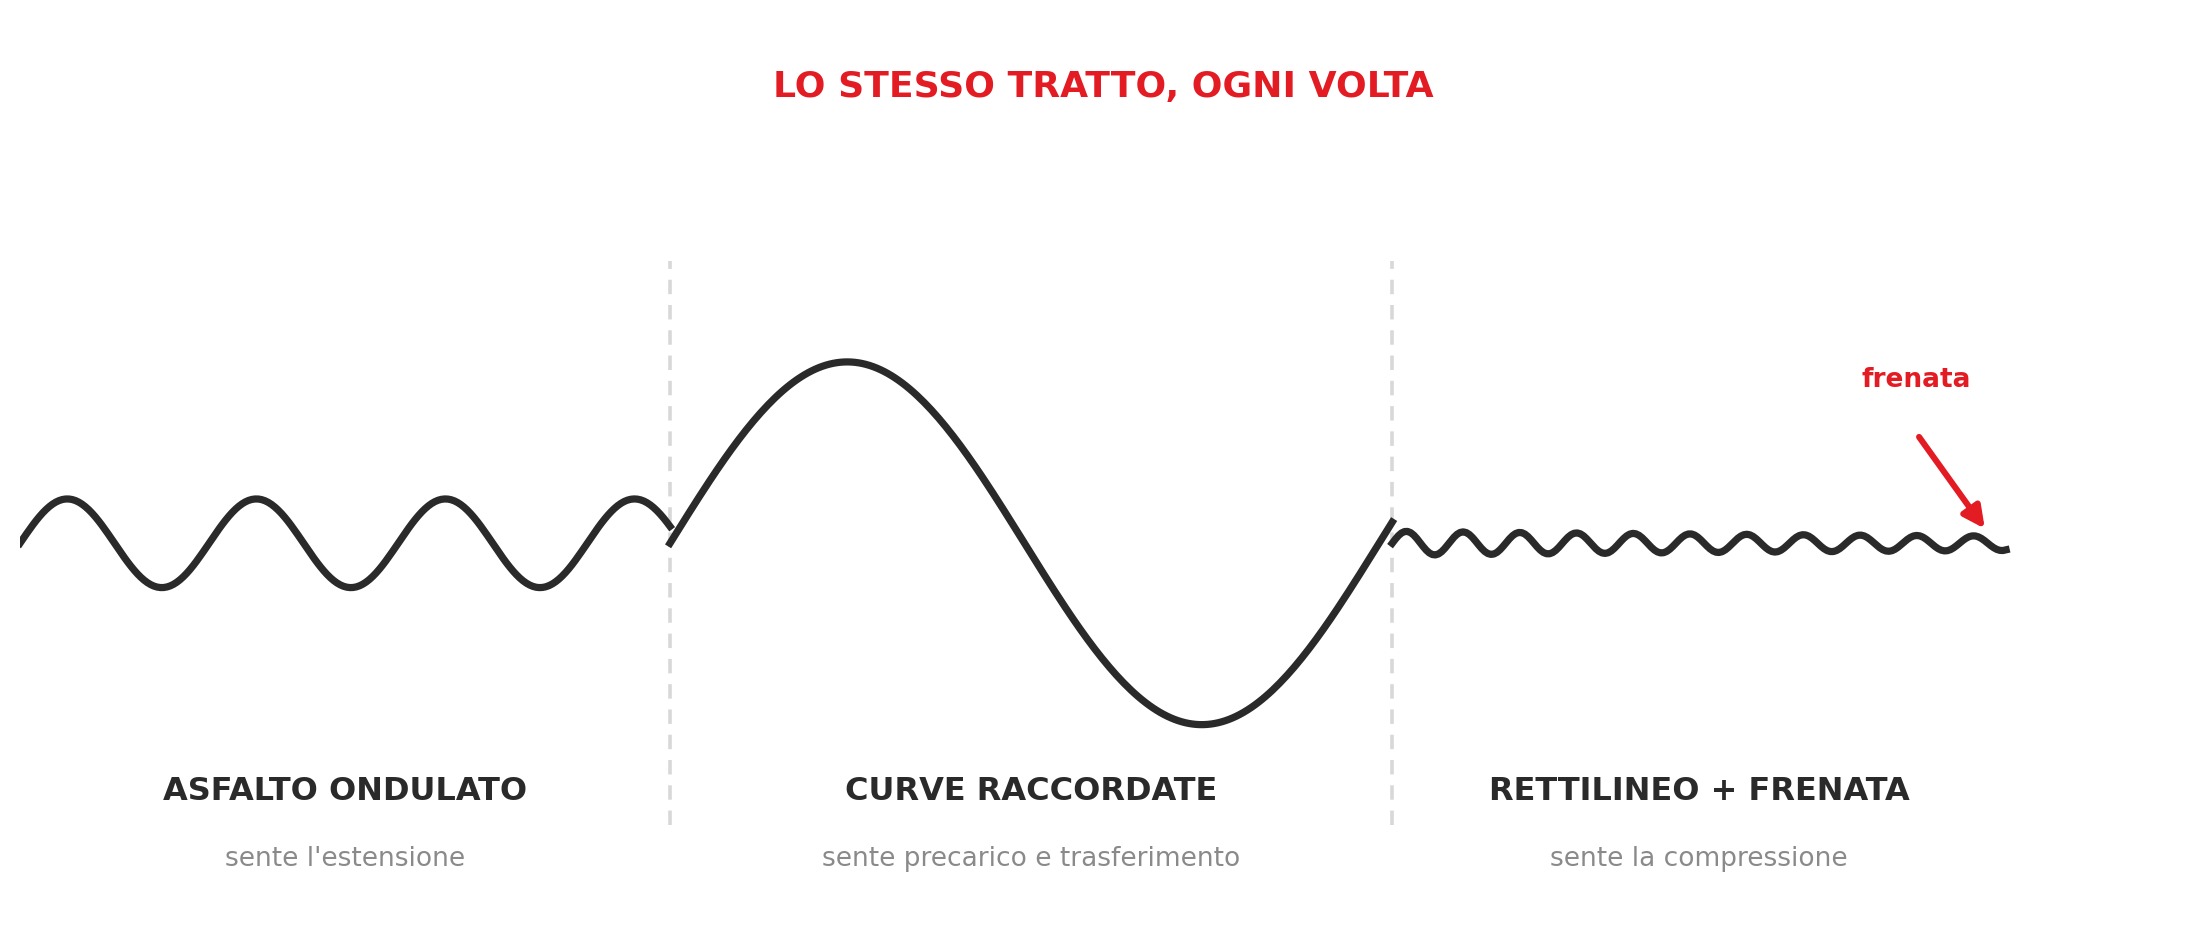
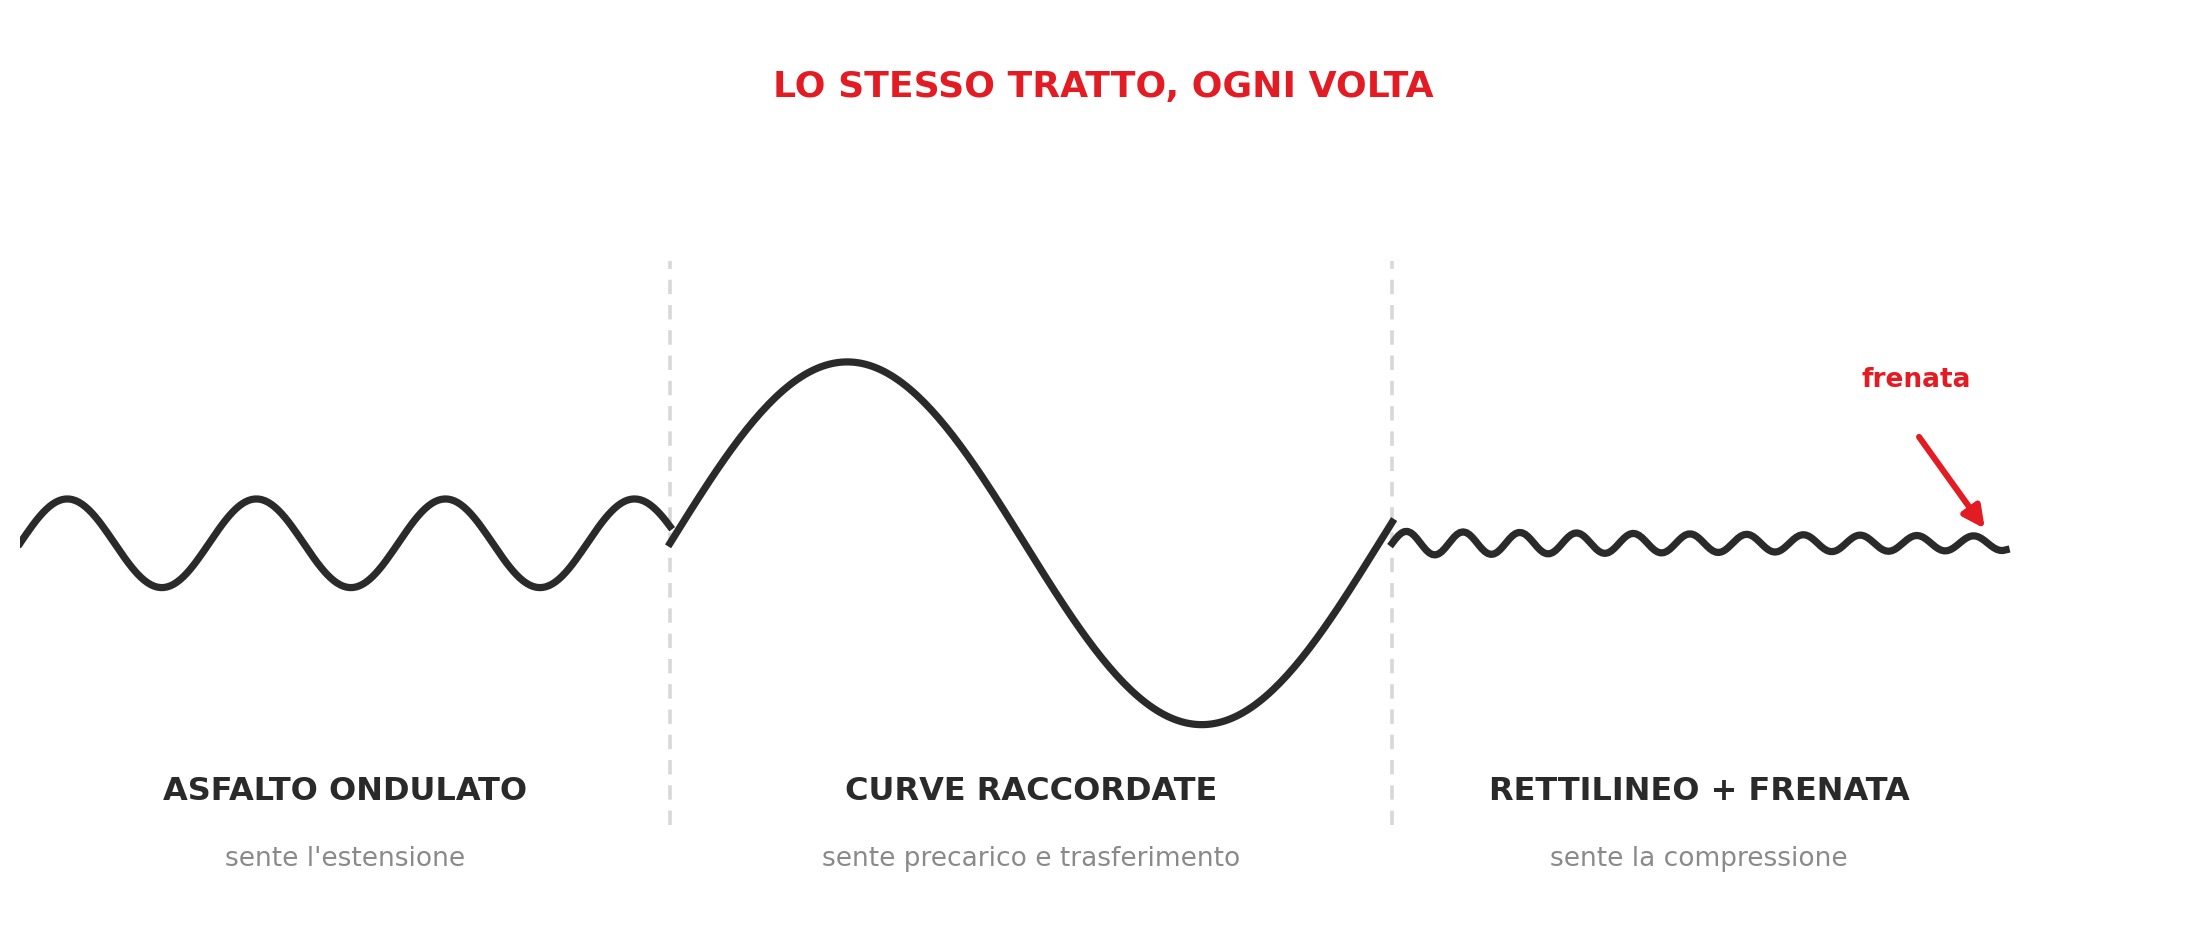
You don't validate a setup in the garage. You need a reference route, always the same one, a few kilometres long, containing three things.
Wavy tarmac at a steady speed, to feel rebound: the bike has to follow the undulations without bouncing or squatting down.
Linked corners at medium speed, to feel preload and weight transfer: turn-in has to come naturally, without the bike running wide or falling into the corner.
A rough straight with a braking zone, to feel compression: the front has to dive progressively, without ever bottoming out.

Write down your impressions the moment you stop. Not that evening at home: by eight o'clock you'll remember it "felt better" and have no idea why.
Then change one parameter, ride the exact same stretch at the exact same pace, and compare. If it's worse, go back and try the other direction. Three or four passes are almost always enough.
And here's the adult part: testing happens at legal speeds, on roads open to traffic. A perfect setup doesn't make up for testing in conditions you shouldn't have been riding in. If you want to find the limit, the place for that is a track day, and it costs less than you'd think.
When to stop
When the bike does what you expect without surprising you. There's no finish line beyond that.
And it isn't forever, either. Change tyres, fit the panniers, get the suspension serviced: the setup needs redoing. That's normal, and it's exactly why it's worth keeping track of every configuration you try instead of relying on memory.
ClickGarage.AI gives you starting clicks calculated for your specific motorcycle instead of a generic range, and keeps a history of your setups so you can compare them against each other. Your first one is free.
Run the numbers on your own bike
ClickGarage.AI works these values out from your bike's data and your real weight. Go to the calculator